PC gaming without a rig - using Parsec on Windows!

If you are like me, building a gaming rig would be one of your dreams, but to build a rig that can play high end games on ultra graphics would cost you an arm and a leg.
If you are stuck in this situation, then read on to find out how to start gaming without building a rig, and no, this is not about gaming services like stadia or shadow which are not available in India yet.
Requirements
There are a few requirements that I’ll mention below that you’ll need to get this working properly.
- AWS Account – Basic knowledge on how to launch servers
- A good internet connection – 30-40mbps – FTTH (for low latency)
- A job/business to pay the bill – AWS isn’t free, but it’s cheap
- A game – (Always buy your games when they are high end because otherwise the developers would feel that they can make more money from s**t games like candy crush and they’ll stop making good games. We really don’t want that.)
- Local machine running any of the following
- Windows 7+
- Google chrome
- MacOS 10.11+
- Android – With google play
- Raspberry pi 3
- Linux – Ubuntu 18.04+
Let’s get started
So to get started, first we need a  account and then we will move on to setting up the game server in AWS.
Setting up Parsec
What is parsec?
So Parsec is like VNC/RDP on steroids. They give very low latency interactive streaming from a remote PC to your local machine.
They say they use a protocol called BUD(Better User Datagrams) which is like UDP on cocaine and they developed in house specifically for gaming but I think they are using magic and this new protocol talk is just to cover up the magic.
Seriously!
I hosted my server in Mumbai region in AWS and I live in thrissur, Kerala and the LOS distance between my house and Mumbai is 1100 km, so it should be twice that in network fibre length and with all those switched and routers in between, I expected it not to work but it worked! The latency I got is only 30-40 ms which is basically like gaming on your local machine. You won’t feel it. 30 ms is approximately a lag of 1 frame at 30fps which is nothing.
You can read more here
Creating an account
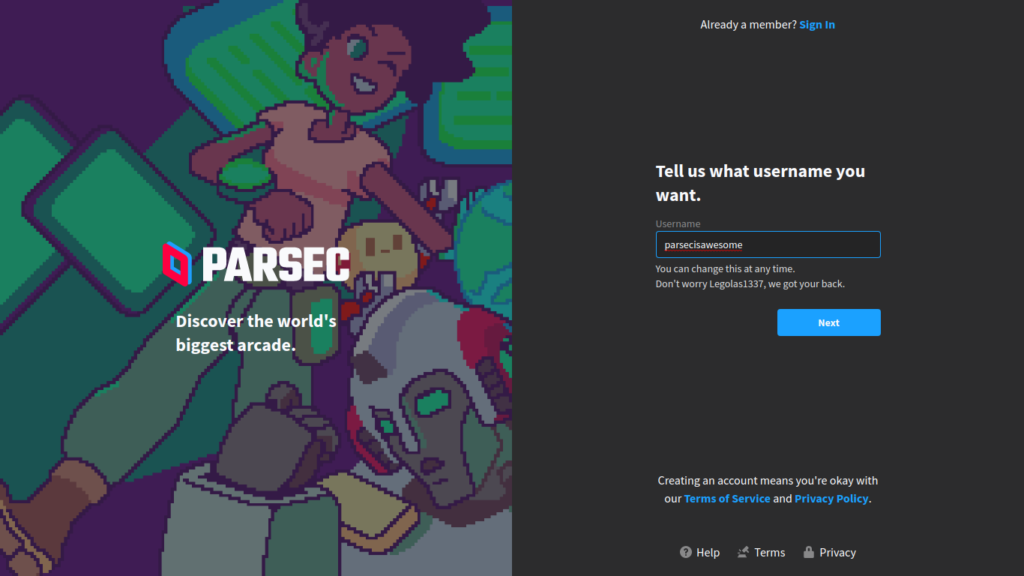
To setup a parsec account first sign up here. It is a very simple process
First give a username
The they’ll ask for an E-mail ID and password
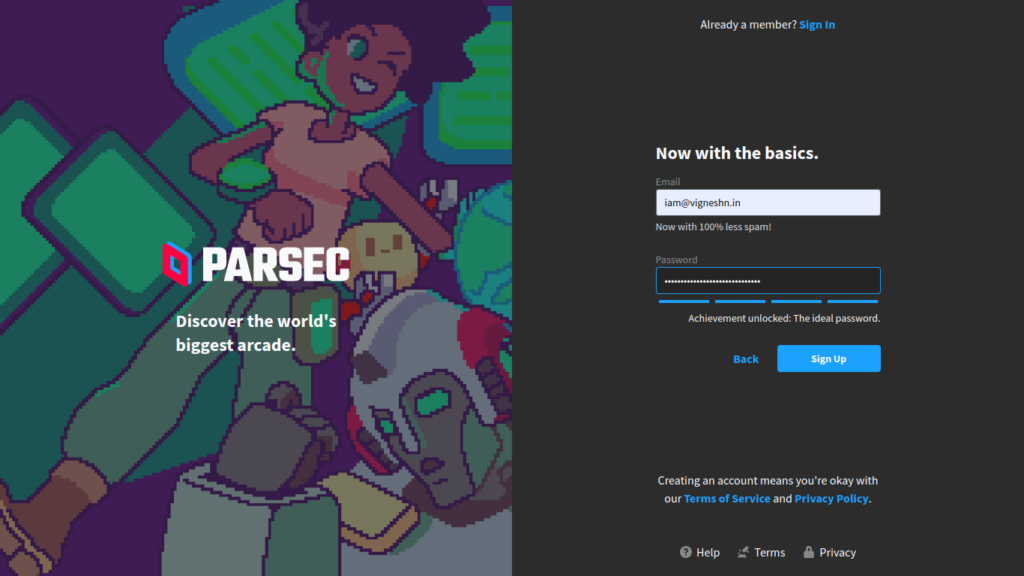
Now you’ll get a confirmation E-mail, so click the confirmation link and your account is ready.
The client
Now that your account is ready, it is time to download the client (or you can use their web client) and login.
You can download the appropriate client for your platform from here
Setting up server in AWS
You always have an option to launch an EC2 instance in the classic method i.e without VPC but I will not recommend that so for this setup, we’ll start with VPC and its sub services and then move on to create the server.
Setting up a VPC
I have covered this in my blog on serverless wordpress but I will cover the basics again here.
First login to your AWS account and go to the VPC console
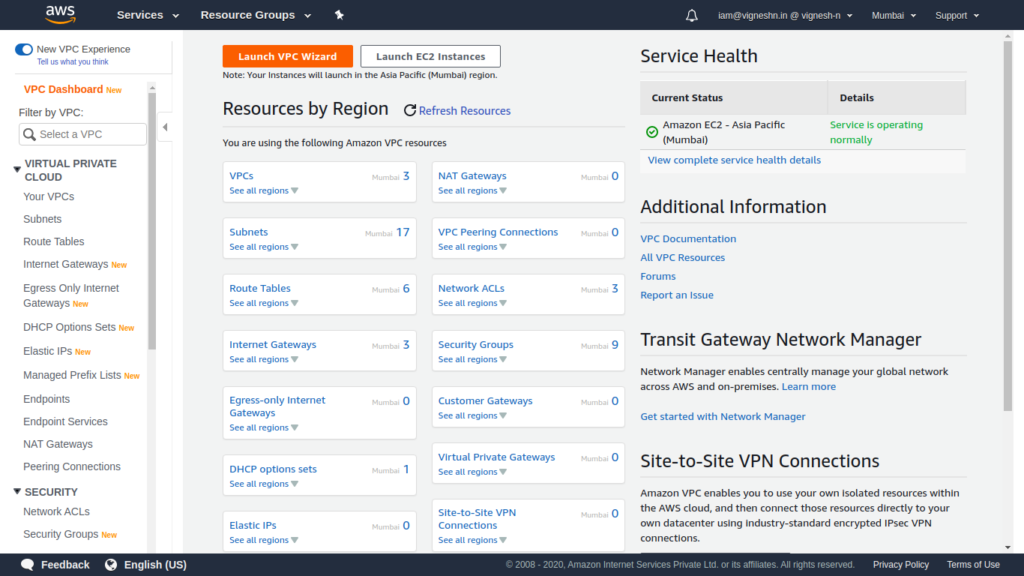
Create a VPC here by giving the proper CIDR block and we don’t need IPv6 for this so you don’t have to give that but give a Name tag so that we can understand what it’s for.
Next create an internet gate way and attach it to the VPC
Then create a subnet for the EC2 instance.
Once that is done create a Public route table (we don’t need a private route table for this one) and add the internet gateway for 0.0.0.0/0 route and also associate the created subnet
Setting up EC2
To setup the EC2 instance, first create the security group, then subscribe the required AMI from the market-place and then we have to launch the instance
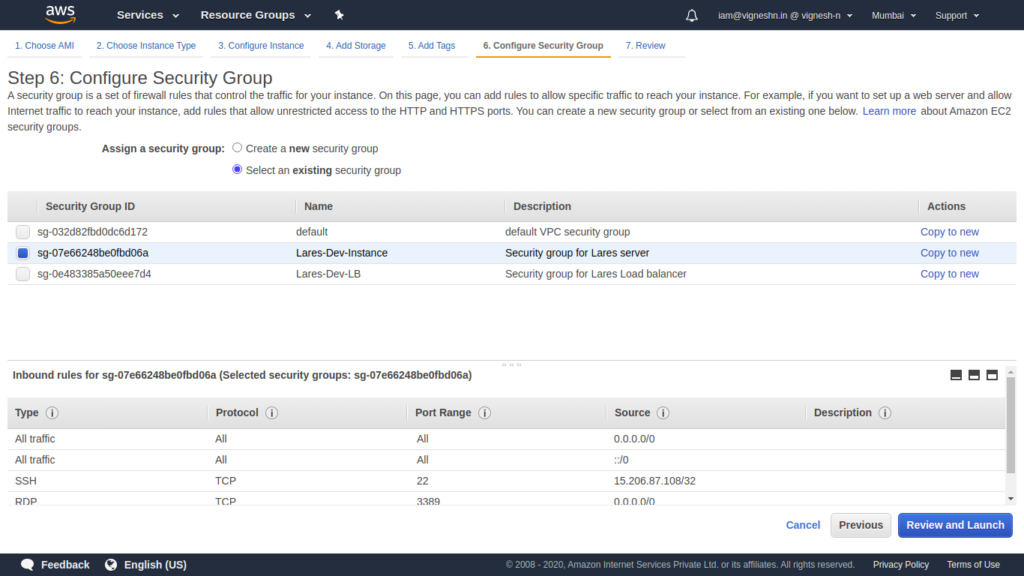
Security group
Go to the security group tab in the EC2 console and enter the following rules
Inbound
All traffic | All | All | Anywhere | “0.0.0.0/0” / “::/0”
This is not at all secure but its convenient.
You can check here and here to get the exact port requirements.
Outbound
All traffic | All | All | Anywhere | “0.0.0.0/0” / “::/0”
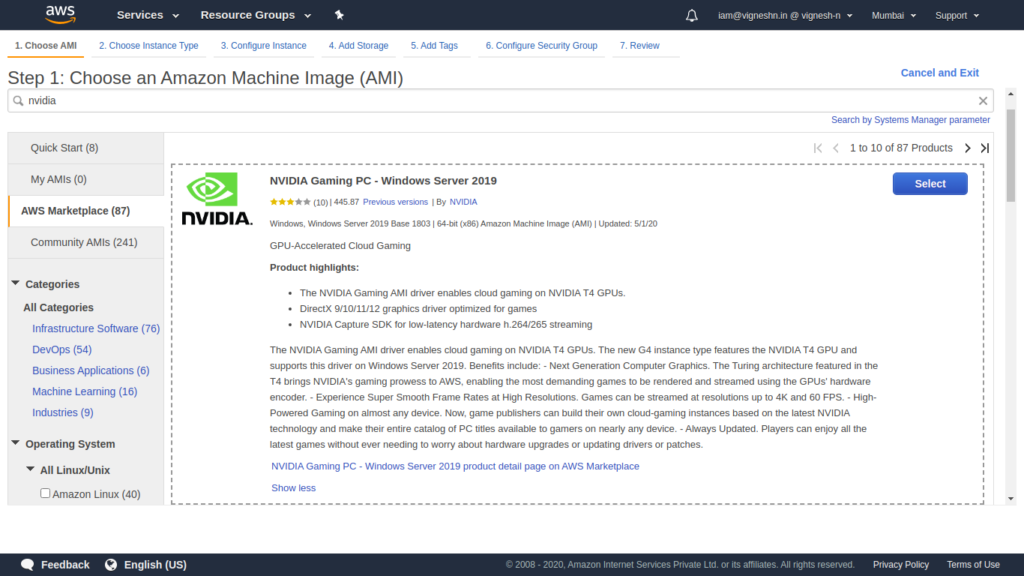
AWS Marketplace
Since parsec does not support hosting on Linux yet, we have to use Windows. So you can subscribe the NVIDIA Gaming PC – Windows Server 2019 from the AWS Marketplace.
Login to your AWS account, go to the AWS marketplace console and subscribe the AMI.
Setting up the Server
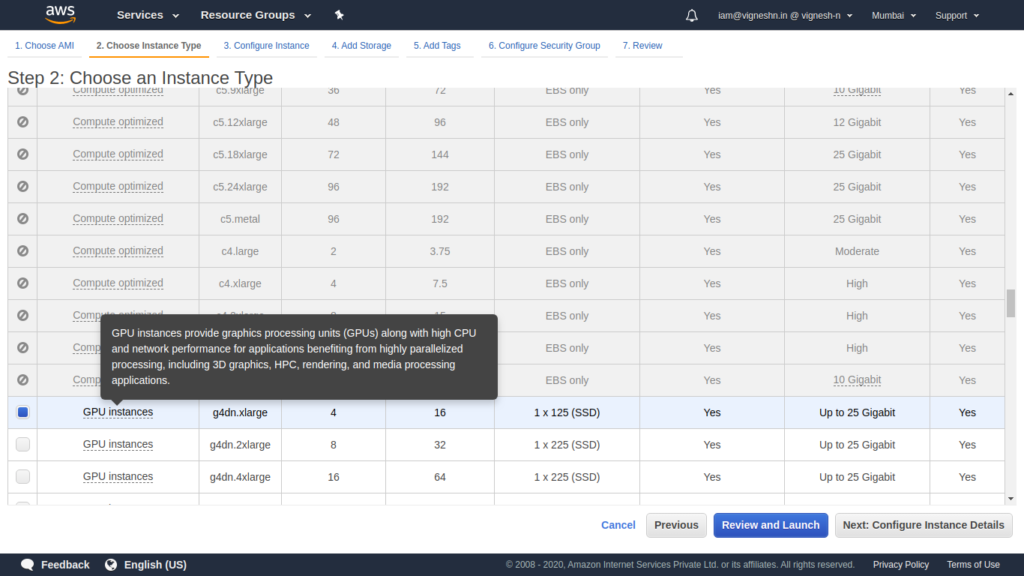
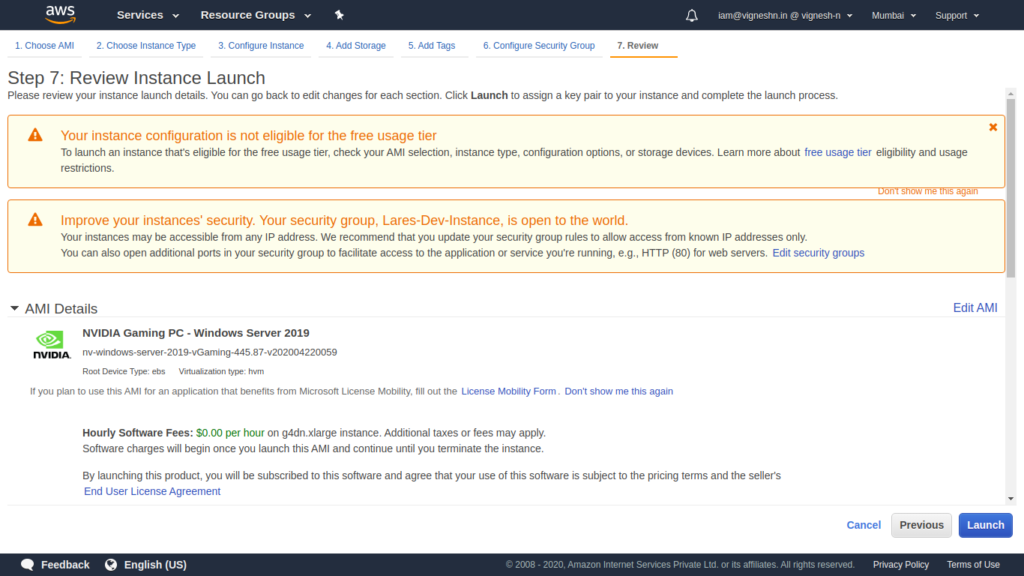
Once the AMI is subscribed, you can launch your instance with the following configuration
AMI – NVIDIA Gaming PC – Windows Server 2019

Choose instance type is g4dn.xlarge (which is the smallest that you can choose)
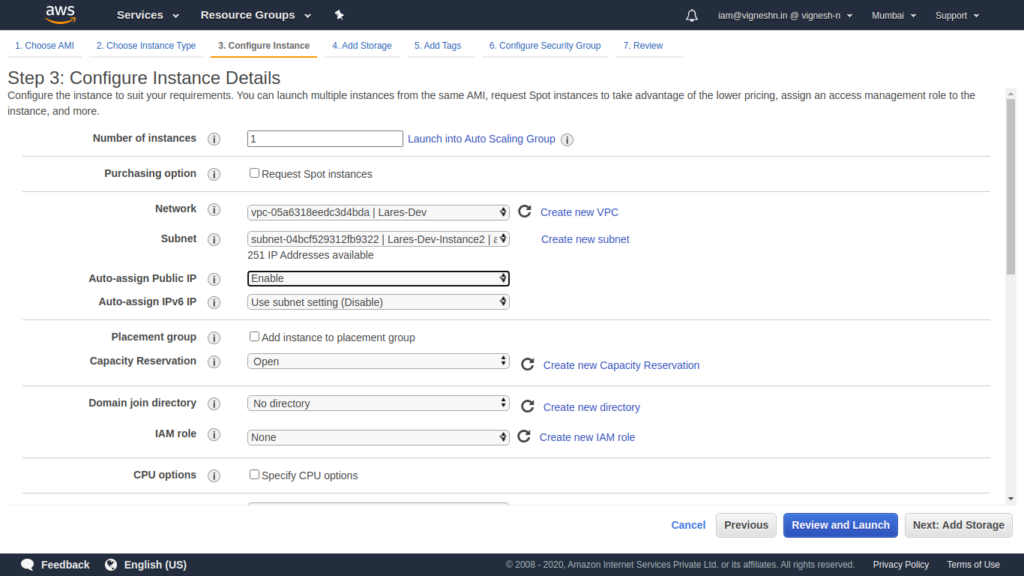
VPC – Newly created VPC
Subnet – Newly created subnet
Enable Public IPv4
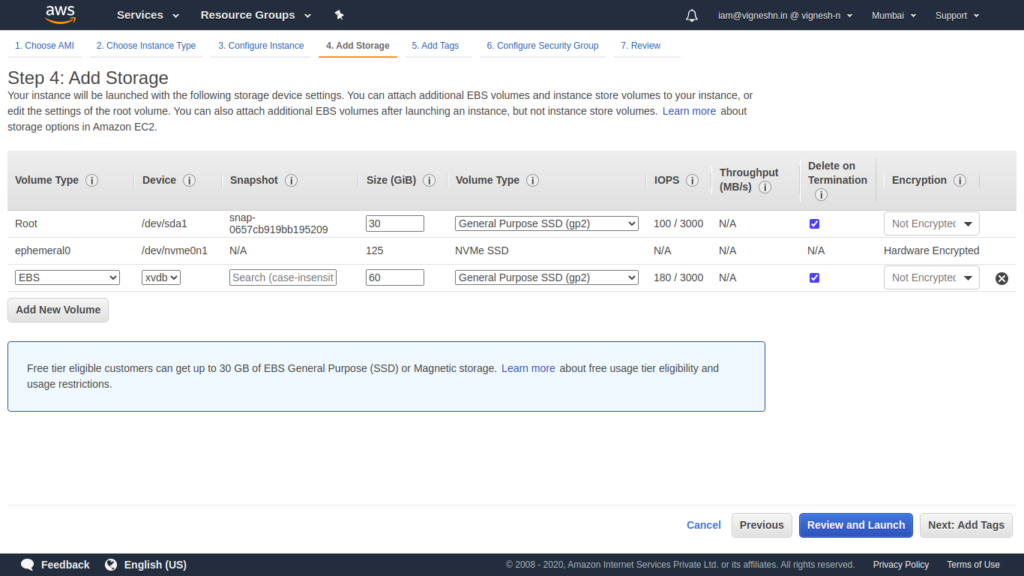
Add a 50G-60G of additional storage – You will see a 125GB of storage by default but that is ephemeral and you’ll lose the data if the instance is stopped and started. If you add additional storage, you’ll have to format it after boot up. Otherwise you can also increase the C Drive storage from 30GB to any value that you like (Provided you are ok paying for it).
Now give a name tag which you can understand
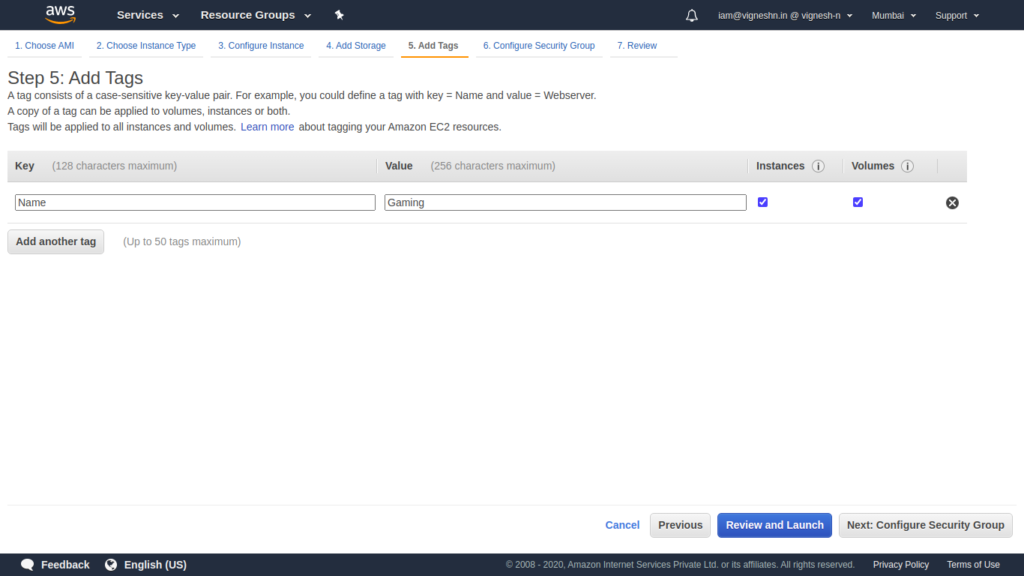
Now specify the security group that you already created
That’s it. Now you can review and launch that instance.
You have to wait for some time for the instance to be launched and then you can get the password for the Administrator account for the Windows server.
Logging in
To login to the Windows server, go to your EC2 console, select the server and click on connect.
You will see an option to upload or copy/paste the key they you had selected when you launched the instance.
This key is required to get the automatically generated Administrator password.
If it shows some error, you have to wait for some more time for the instance to complete the setup.
Once you get the password, you can use Remmina or any RDP client to connect to the server with it’s public IP.
Once connected, install Parsec and login the same way you logged in in your client and ensure that the Hosting option is enabled
This will show your PC in parsec and you can see the same in your client
Connecting with Parsec and setting up sound
Not that the parsec is connected, you have to do a few things to get it up and running for gaming.
Disconnect from RDP and connect again using Parsec from your client. It should work. If it does not, make sure to check the trouble-shooting steps as mentioned in the Parsec website or join Discord.
Once your Parsec is connected, you’ll notice that there is no sound. This is because AWS does not attach a sound hardware since it is a server. To fix this, you can install a virtual sound hardware from here.
Click on the Install batch file to install the virtual sound drive. You can enabled spacial sound for better immersive experience while playing games.
Now you are ready to play any game
Gaming
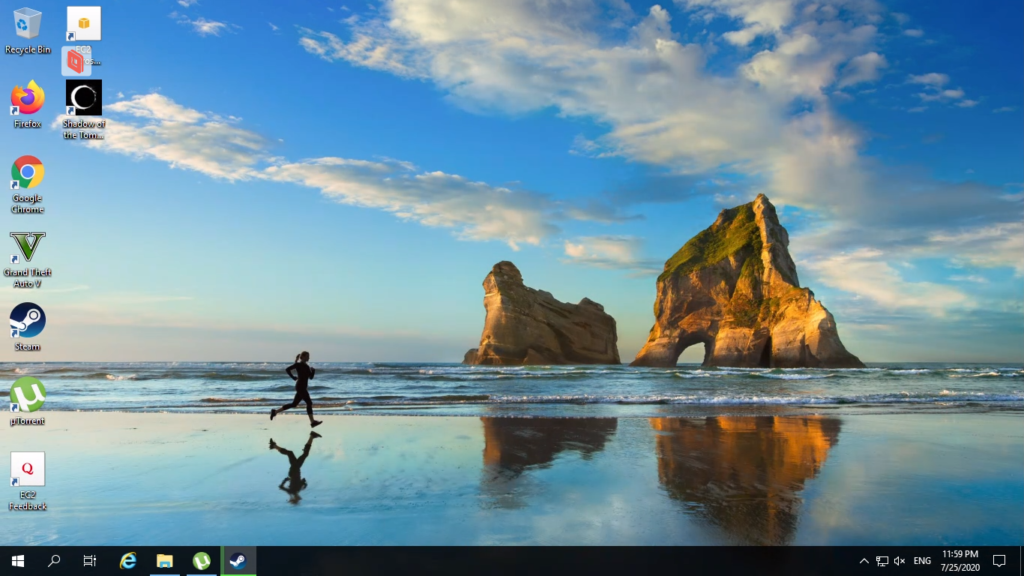
Now you can install Steam or any gaming platform.
I’m using steam. I installed Shadow of the tomb raider
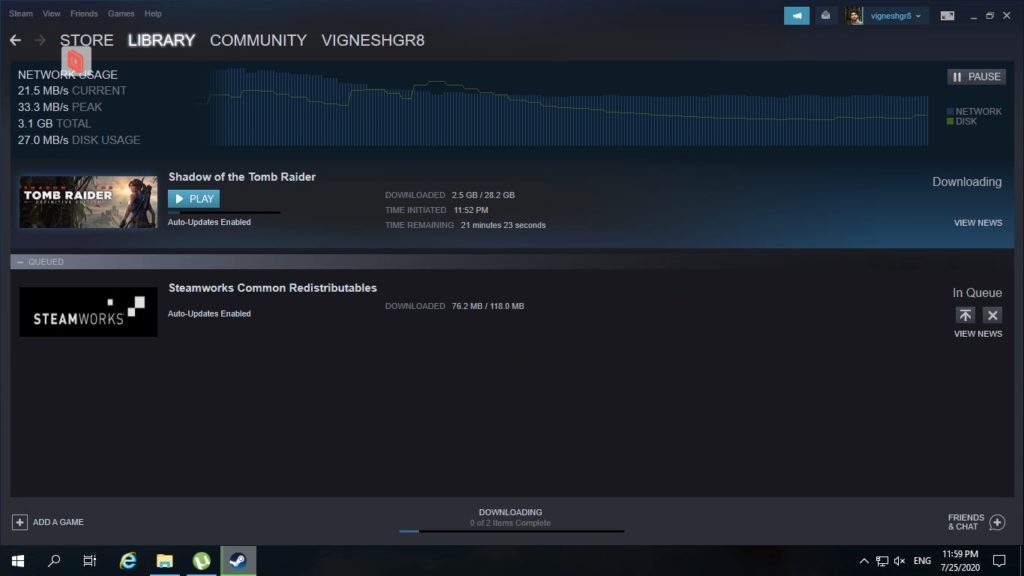
Once installed you can start playing it like it is your local PC but with graphics on ultra.
You can see the screenshots from my gameplay taken from my laptop below.